Banana Bread French Toast

The banana bread recipe I use makes a lot of banana bread.  There always is a little hunk that sits for a few days after the initial feasting of the banana bread, which usually happens right when it come out of the oven.  Well, I decided to get creative with that last hunk of bread.  I don't want it to go to waste after all.  So the other morning I made french toast out of it & let me tell ya', it was awesome!  Here's how...
Make on Banana Bread recipe (let it sit overnight or up to 3 days before using for french toast)
Slice into 1/2 inch pieces (works best if bread is chilled before slicing)
Beat together 3 eggs, 1/3 cup half & half, 1 teaspoon vanilla
Heat up a skillet over medium heat.  Coat both sides of banana bread in egg mixture & put into hot pan.  Let cook 1-2 minutes on each side & serve warm with butter & maple syrup.  Enjoy!

Merry Christmas!

Hope you have a wonderful Christmas & enjoy good times with family & friends.  I'm so blessed on this day that  celebrate the birth of our Savior.  Remember to count your blessings & hold dear those things that are most important.  Merry Christmas!

P.S. Don't you love this painting!  It's by Heidi Malott a current day Impressionist painter.  I'm a big sucker for Impressionistic paintings & I really enjoy her subject matters.  You can check out her work & purchase  her pieces at her website.

Christmas Tree Roll-ups

This is a cute, healthy, & easy idea for a Christmas appetizer or snack.  We did this for one of my daughters class snack.  For the tree part I used spinach tortillas, spread cream cheese on them then added cheese, lettuce, & turkey.  Roll em up & cut them in 1 to 1 1/2 inch segments.  For the trunk I used a regular tortilla & omitted the lettuce & cheese.  Once we had organized the roll-ups in a tree shape we used sliced carrot & little tomatoes cut in half for the "ornaments".  You could also use red, yellow, & orange peppers & olives for decoration.  I didn't have a yellow pepper, but if I had I would have cut a star shape out & put it on top.  This is a great recipe to do with kiddos, & it's tasty!

Gift Tags

Here are some cute & fun gift tags for y'all.  These are great to label your wrapped presents or  homemade gifts.  Use them however you like.


Homemade Christmas Gifts: Hot Cocoa

This is the first year I've done this one.  It was so fun to organize the boxes with a little hot chocolate theme.  Plus the homemade hot cocoa mix is awesome.  You can make this gift for a family...
...or for just one person.  It's also very affordable & super cute.  I added a few candy canes to put in the hot chocolate for that peppermint flavor.
I also made flavored stirring spoons.  I decided to make my spoons mint, because I love mint chocolate & because I liked the green color.  First I wrote on the spoons what their purpose was, in case there was any confusion.
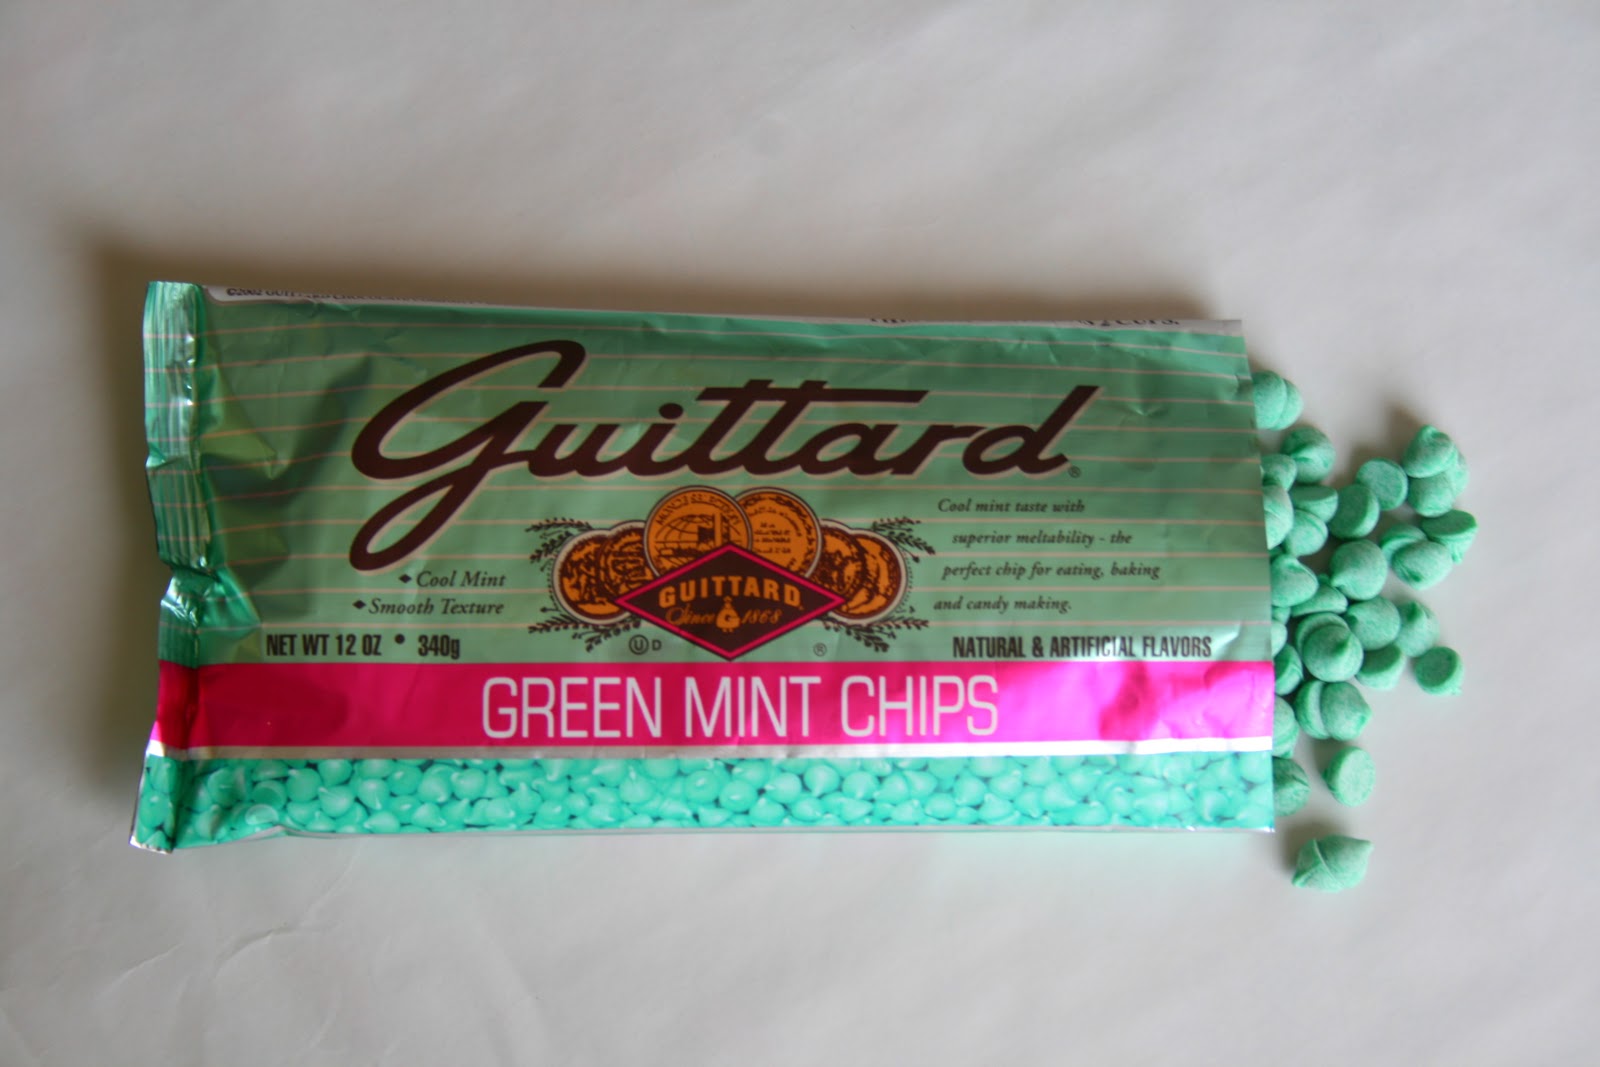
 I used these mint chips for the flavor.  I melted them using the double boiler method & then used a spatula to put chocolate in the plastic spoon.  Then I set them aside to cool.  Once cooled I wrapped them in plastic & that was it.  The last thing I added to my hot cocoa kit was a little bag of marshmallows.  Super simple, super cute, super yummy, & super affordable.  Yep, I like it.  Here's how to make the hot cocoa.
Ingredients
2 cups nonfat dry milk powder
1 cup sugar
1/2 cup unsweetened cocoa
1/2 cup mini chocolate chips
1/2 cup powdered nondairy creamer
1/8 teaspoon salt
Directions
Put all the ingredients into a large mixing bowl & whisk until evenly blended.  Pour into bags or jars & decorate with ribbon & a tag with instructions.  Makes about 4 cups of mix.

And here are some tags you can use to label your awesome homemade gift, or you can make your own tags.

Homemade Christmas Gifts: Cookies Boxes

One of the best gifts at Christmas is Christmas cookies.  Tow rules to make cookies an appropriate gift.  The cookies need to taste good.  Never sacrifice taste for looks I say!  And you need to make the packaging look cute.  Here are some cheap ideas to accomplish the latter.
Buy these cute food boxes from any craft store.  You can buy whatever size fits the amount of cookies you are giving.  Line the box with wax paper & leave extra on the ends to fold over the top of your cookies.  Organize cookies in cupcake liners to help hold them into groupings.  I got a bag of Christmas cookie cutters at the dollar store & put one cookie cutter in each box as a special treat.
Add a little bow & tag to the top, I used a stamp here & it makes live that much easier.  That's it!  Super cheap, yet very cute & scrumptious looking.
For this cookie container I used an old cornstarch can.  I took the label off & then taped a piece of pretty wrapping paper around the center.  This is a good couple or single person size cookie gift.
I used the original lid for the can & just stuck a bow on top.  Easy peasey.
This cookie box is a single serving size.  Once again I got the box at a craft store on clearance.  It's suppose to be for wedding favors, but it works perfectly for this... & it's so pretty.
Close it up & stick a bow on top & they'll never know what hit em'.

Good luck with your Christmas cookie packaging.  If you have more ideas & methods please share them with us.

Homemade Christmas Gifts: Cookies in a Jar

This year for Christmas I had to get creative & do gifts on a major budget.  So I started searching for fun homemade gifts to give our family & friends.  I'll share a few of them with you over the next few days.  But let's start with this one- homemade cookies in a jar.  These always look so pretty & are super easy & cheap to pull together.  Bonus: the cookies that this jar makes taste awesome.  Bonus, bonus: the recipient gets a free jar.  Many of us have extra mason jars, but if not look at a thrift store or garage sales for them.  Jars are easy to come by.  Use left over ribbon & this makes for an very affordable gift.  All I had to buy were a few ingredients.  Here's how to make this fabulous present...
Ingredients
1/4 cup sugar
1/2 cup packed brown sugar
1 1/2 cups flour
3/4 teaspoon baking soda
1/4 teaspoon baking powder
1/2 cup red & green M&M's (change the color to make this for other special occasions or birthdays)
1/2 cup rolled oats
1/2 cup Cocoa Krispies (regular kind work too, I just like the contrast of the chocolate ones)
1/2 cup white chocolate chips
Directions
In a one quart widemouthed mason jar add the ingredients in the order listed.  Pack them down after each addition using your knuckles or a spatula.  Screw on the lid & tie a pretty ribbon around it with a tag.  On the tag include the following instructions: "Preheat oven to 350 degrees.  Cream 1/2 cup butter, one teaspoon vanilla, and one egg together in bowl until fluffy.  Add contents of the jar & stir until well blended.  Drop by rounded teaspoonfuls onto an ungreased cookie sheet.  Bake for 8-10 minutes."

You can make your own tags, or here are some I made that you can use.  These tags are intended to fold in half (which is why some of the pictures are upside down).  You can use the inside to write a little Christmas wish & your name.  I suggest printing them on card or cover stock.


*The first time I posted this the tags had a mistake.  My chief editor caught it ;)  It said to mix the dough in a "lard bowl".  Please don't mix anything in bowls made of lard, I don't want any heart disease on my watch.  I've corrected the tags so you can go ahead & print the updated version that says "large bowl".  Thank you for your cooperation, 10-4.


Peanut Butter Chocolate Thumbprint Cookies

 In honor of our giveaway winner yesterday I thought I'd post these yummy little numbers.  Once again an awesome cookie that I only privilege myself once a year at Christmas.  These are a good ol' Christmas cookie standby.  They are also easy & a good one to make with kiddos.  
I like to have my kids unwrap all the Hershey kisses.  Usually about half of them end up in their mouths.  Here's the DL...
Ingredients
1/2 cup shortening
3/4 cup creamy peanut butter
1/3 cup granulated sugar
1/3 cup packed brown sugar
1 egg
2 tablespoons milk
1 teaspoon vanilla extract
1 1/2 cups flour
1 teaspoon baking soda
1/2 teaspoon salt
Hershey Kisses
Granulated sugar
Directions 
Heat oven to 375 degrees.  Remove wrappers from Hershey Kisses.  
Beat shortening and peanut butter.  Add 1/3 cup granulated and brown sugar and beat until fluffy.  Add egg, milk and vanilla; beat well.  Gradually stir in flour , baking soda and salt.
Shape dough into 1-inch balls and roll in sugar.  Bake on ungreased cookie sheet for about 8 minutes.  
Remove from oven & immediately (& I mean IMMEDIATELY) press one Hershey Kiss into the center of each cookie.  Place on cooling rack & let cool completely.

Cookie Creator Winner

Congratulations to~


Michelle...

My favorite is the peanut butter cookies with the Hershey's kiss in the middle!


This is one of my favorites too.  Especially when they are warm out of the oven & chocolate is a little bit melted still.  Mmmm!

*Winners chosen at random using Random.org

Bagel Snowmen

I'm always searching for healthy, but fun kids treats.  This is a great one to make this time of year.  It's healthy, filling, tasty, & fun.  Kiddos have no problem gobbling up these cute snowmen.  This is a great snack to make with your child as well.  We made these for my daughters' class & my girls helped to assemble all 20 of them- & had a blast doing it.  Here's the how to...
Ingredients
mini bagels cut in half
cream cheese
small carrots cut in half crosswise
olives cut in half lengthwise
celery cut into thin strips
cherub or cherry tomatoes cut in half lengthwise
Directions
spread cream cheese on bagel halves until completely coated.  Place olives for the eyes.   Stick the carrot nose right in the hole/center of the bagel.  Use celery strips for the mouth & top of ear muffs.  Place tomatoes as the ear muffs.

This is how I cut the celery.  Really thin so it can be easily formed into the desired shape.  You could also use red or yellow peppers for this step.

Here is another option that is a bit easier.  This is what we did for my gilrs' class.  I got all the veggies ready & spread the cream cheese on the bagels.  My girls did all the decorating.  It was fun & their class was thrilled.  Plus they all got a healthy, hearty snack.

Christmas Cookies: Velvet Cookies

This is my favorite Christmas cookie.  It's a recipe that I got from my Mom-in-law.  Which means I spent a majority of my life with out these scrumptious bits of heaven called Velvet Cookies.  I don't want you to be in the same boat, so I'm sharing the how to with you today.  The key is to make these cookies small so they are bit size.  Literally you should be able to eat the cookie in one bite.  The three levels of flavor go so well together.  The light, airy buttery base (hence "velvet" as it's name) is evened out with the rich chocolate & crunchiness of the sprinkles.  Plus they look so stinkin' cute!  Here's the skinny...
Ingredients
1 cup butter, softened
1 cup flour
1 cup corn starch
1/2 cup powdered sugar
1/2 teaspoon salt
1 teaspoon vanilla
1 cup milk chocolate chips
multi-colored Nonpareils sprinkles
Directions
Sift flour & cornstarch & set aside.  Cream butter.  Add powdered sugar gradually.  Mix in salt & vanilla.  Add the flour & cornstarch & mix well.  Refrigerate for 2 hours.
Preheat oven to 375 degrees.
Shape dour into 3/4 inch balls.  Bake on greased cookie sheet for 15-20 minutes.  Let cool.
Pour Nonpareils sprinkles into a small bowl so they are about two inches deep.  Using double boiler method melt chocolate chips.
Dip the top of each cookie into the melted chocolate & then immediately into the Nonpareils.  Let cool & gobble 'em up!

Cookie Creator Giveaway

It's that time again.  Time to make Christmas cookies.  This is one of my most favorite activities.  I love making Christmas cookies for two reasons.  1)I only make certain cookies this time of year that are sooooo good!  I don't know why I don't make these certain varieties year around... maybe that's why they are so good.  2)Decorating.  I so enjoy decorating cookies.  It's fun to make the different shapes & adorn them with sprinkles, colored sugar, icing, & powdered sugar.  Christmas wouldn't be Christmas without cookies
As we gear up for this cookie season I thought I'd do a giveaway to prepare one of you with some fabulous cookie making tools.  The giveaway includes a melamine (that means no breaking :) 4 quart batter bowl, melamine mixing bowl, two silicone spatulas, and five Christmas cookie cutters.

To enter the giveaway just answer the following question in the comments section below:
What is your favorite Christmas treat?


Winner will be drawn at random & announced Tuesday (December 13th).  One entry per person.  U.S.A. residents only.

I'll be posting more Christmas cookie recipes this month, but here's one past post to get you started.
Happy baking!

Festive Holiday Punch


I made this the other night for a party.  The punch itself is nothing out of the ordinary.  I simply used 1 part lemonade, 1 part cranberry juice, & 1 part ginger ale.  But to make it look more spectacular & time consuming than it really is I threw in a bag of cranberries & two lemons, sliced. 
It really made the punch look beautiful & festive.  A great addition to any holiday party.  I think a few sprigs of fresh mint on the top would look gorgeous & very Christmas-y.

**My friend Deidrie had this great idea of adding Granny Smith apple slices to the punch as well to achieve that festive red & green motif of the season.  I love it!

Quick Chicken & Dumplings

Chicken & dumplings has to be one of the all time comfort foods.  There's nothing quite like chicken & dumplings on a cold day.  This version has all the flavor & wonderfulness of full out homemade chicken & dumplings, but you can make it in a fraction of the time.  The only difference is you don't cook a whole chicken in the broth for hours.  Otherwise, it's just like the original.  This is a meal that will stick to your bones & make you smile.  And all under an hour.  Here's the DL...
Ingredients
6 cups chicken broth
1 1/2 cups diced carrots
1 1/2 cups diced celery
2 garlic cloves diced
1 medium onion diced
2 Tablespoons butter
2 1/2 cups cooked bite size chicken pieces
1 can cream of chicken soup
salt & pepper
Dumplings
2 1/4 cups Bisquick mix
2/3 cups milk

Directions
In large pot or dutch oven cook butter, garlic & onion for 5 minutes.  Add chicken broth, carrots, & celery.  Cover & simmer for about 20 minutes or until vegetables are tender.  Add cream of chicken soup & stir until combined.  Add chicken & salt & pepper to taste.  Cover & simmer 10 minutes.  Meanwhile mix milk & Bisquick mix together until combined.  Drop dumpling mix by big spoonfuls (about 2-3 tablespoons each) into stew.  Dumplings will double in size so spread them out (I usually do one in the middle & 4 or 5 along the outside).  Cook uncovered for 10 minutes.  Cover & cook 10 minutes more.  Sprinkle a little freshly ground pepper on the top & dish up & serve.  Enjoy!