Showing posts with label kids. Show all posts

Grilled Cheese Sloppy Joes

I love this concept of combining two of the most all American sandwiches together.  This is truly an awesome sandwich.  I like it... a lot... maybe too much.  Another bonus to this sandwich besides tasting amazing, is it is super easy to make a big batch of them.  Here's the skinny...
Ingredients
Sloppy Joe meat [click for recipe]
sandwich bread
butter, softened
sliced American cheese
Directions
Preheat oven to 350 degrees.
Butter one side of all the pieces of bread.
 Place slice of bread buttered side down on cookie sheet.  Lay down a piece of cheese.
Dollop on some Sloppy Joe meat, and then another piece of cheese.  Place another piece of bread on top with buttered side facing up.
Place another cookie sheet of the same size as the bottom sheet on top of the sandwiches.
Place sandwiches in the oven for about 4 minutes, or until bread is toasted and cheese is melted.  Let them sit for a few minutes before serving.  Slice them up and enjoy!

Easter Chick Cupcakes

This is a quick and easy treat to whip up for the holiday weekend.  Although super cute, these cupcakes are a cinch to make and are a great way to get the kiddos involved.
We made some with brown eyes and some with blue eyes.
All my children from ages 2 to 6 helped and had a blast.  Bonus, these cupcakes are a good old fashion Betty Crocker recipe, so they taste great.  Here's the skinny...
Ingredients  
For cake:
(makes 12 cupcakes)
1 1/4 cups flour {or 1 1/2 cups cake flour}
1 cup sugar
1 1/2 teaspoons baking powder
1/2 teaspoon salt
3/4 cup milk
1/3 cup shortening
1 egg
1 teaspoon vanilla
3-4 drops yellow food coloring

For decoration:
1 container white frosting {I used Betty Crocker's Whipped Cream Cheese frosting, or you can make your own, you'll need about 1 cup}
1 1/2 cups coconut
1 package mini M & Ms
1 package peach rings
yellow food coloring


Directions
Preheat oven to 350 degrees.  Line muffin tin with festive paper cupcake liners.
Measure all ingredients for the cake into a bowl.  With electric mixer blend on low speed for about 30 seconds scraping bowl constantly.  Beat on high for 3 minutes, scraping bowl occasionally.
Fill cupcake liners about half way with batter.  Bake for 15-20 minutes or until middle is set and toothpick inserted comes out clean.  Remove from oven and let cool completely.

In small bowl combine coconut and bout 4 drops of yellow food coloring.  Stir until all the coconut is coated and yellow all over.
Using scissors, cut peach rings into small triangles for the beaks.
Sort M&Ms so that you have only the brown and blue ones.
Frost the top of each cupcake.
 
Turn upside down and gently press into the coconut.
If you need to add a little more coconut once you turn it over, gently pressing the coconut into the frosting so that it will stay put.
Gently press in the eyes and beak.
And that's it.  Your ready to gobble them up, or just look at them for a while because they're so stinkin' cute! Enjoy!

*This cake recipe is perfect for a small 8x8 or 9x9 inch cake as well.  You can withhold the yellow food coloring to keep it a basic white cake.

Bagel Snowmen

I'm always searching for healthy, but fun kids treats.  This is a great one to make this time of year.  It's healthy, filling, tasty, & fun.  Kiddos have no problem gobbling up these cute snowmen.  This is a great snack to make with your child as well.  We made these for my daughters' class & my girls helped to assemble all 20 of them- & had a blast doing it.  Here's the how to...
Ingredients
mini bagels cut in half
cream cheese
small carrots cut in half crosswise
olives cut in half lengthwise
celery cut into thin strips
cherub or cherry tomatoes cut in half lengthwise
Directions
spread cream cheese on bagel halves until completely coated.  Place olives for the eyes.   Stick the carrot nose right in the hole/center of the bagel.  Use celery strips for the mouth & top of ear muffs.  Place tomatoes as the ear muffs.

This is how I cut the celery.  Really thin so it can be easily formed into the desired shape.  You could also use red or yellow peppers for this step.

Here is another option that is a bit easier.  This is what we did for my gilrs' class.  I got all the veggies ready & spread the cream cheese on the bagels.  My girls did all the decorating.  It was fun & their class was thrilled.  Plus they all got a healthy, hearty snack.

The Future of Rodeo

Things haven't slowed down a bit.  We just spent the holiday weekend with a couple of close friends out at our ranch.  Total head count, 7 adults, 13 children.  Needless to say we were out numbered.  But the kids kept themselves very busy, moving as a small herd from the barn, to the pond, to the bunkhouse, back to the barn & only coming to the house when they were hungry. 
We ended the weekend with an afternoon at the rodeo where a few of our buckaroos did some mutton bustin. 
Not sure what that is, pretty simple & semi-barbaric.  It's where you stick your small precious bundles of joy on top of a non-rideable sheep & let them see how far down the arena they can get.  One of our girls went the farthest, she really held on! 
It's always super fun to watch & the kids feel so proud afterwards.  Sometimes the pride comes after a few tears, but they always have big smiles when they're handed their prize of a baseball cap & two dollar bill.  This is our friends son biting the dust.  That't the unfortunate part of the game, everyone has to fall off sometime.  A few lucky ones are saved by the rodeo clown, but that doesn't happen very often.

Here's a my second born's (by 10 whopping minutes) ride in sequence.  She had a good grip from the start.
 The sheep eventually turned right & B-lined for the flock.  But she held on.
 Then the sheep tried another tactic, bucking.
Which proved effective.  There's here dismount, & the rodeo clown is right there to help her up.  Those rodeo clowns are great.  They keep the kiddos safe & help them when they fall off, I mean, dismount.  They are so encouraging & the kids feel like real rodeo starts.
I love the bronc riding.  Now you see him...
...now you don't.  Look a that horse's concentration.
My girls love the barrel racing.  They are just starting to learn how to do it & love it.  I wouldn't be suprised if I have pictures of them in the junior barrel racing in next year's rodeo.
And of course everyone loves the bull riding.  For some reason this doesn't seem like a good idea to me.
And all of it's wrapped up with wild cow milking.  I love watching wild cow milking.  Hey buddy, are you sure you want to do that?!

Fair Week

You may have noticed that my posting was a little slow this past week.  That's because around here it was fair week.  For the past 10 years of our lives my husband & I have devoted fair week to working the food booths for our church.
Our church food booths are ran by our children's & youth ministry & raise funds for their entire year of activities, trips, & outreaches.  Although fair week is hot, long & greasy, it's totally worth it to see all that the young people in our church are able to do throughout the year.  I can't complain too much because I generally get to work the espresso bar, which I love.  Reminds me of when I was in college working at the coffee bar in the student union building.  My hubby on the other hand generally gets put at the grill whipping up cheesesteak sandwiches.  This is a much hotter & more intense job.  (Do you like how focused my son is in this picture.)
I love the food at the fair.  I have so many must have food items I order throughout the week.  The food at our church's booths is also wonderful, curly fries, cheesesteak sandwiches, steak kabobs, sweet potato fries, fried snickers... I love it all.  But this year our children's booth added giant turkey legs.  My hubby has been wanting to get our booth to serve humongous turkey legs for four years now.  And a the 2011 Western Montana Fair his dream came true.  Plus they tasted extra yummy!
We did manage to squeeze in a little fair fun with our kiddos.  We mostly do the free stuff, like the animal barns.  But of course grandma can't resist treating the kids to a few rides.  It was my youngest first time on a ride.  Since she loves horses & the carousel allows parents to ride along for free we did that.  She LOVED it & was a little disappointed when it was all over.
So between fair week & house remodeling I have not been cooking or blogging much.  (Do ya like my son's spurring action in this shot.  He says he wants to ride bulls, but from this pict I'd say he's gonna be a bronc rider.  My oldest seems to be practicing her trick riding.  I love that we have real horses, yet the fiberglass ones are so much more fun.)  I get to play catch up this week a little bit.  I will have some yummy recipes coming up & a whole section on zucchinis.  Anybody got way too many zucchinis in their garden?  (I'm raising my hand)

Love This Stuff


One thing we don't lack around here are mosquitoes.  They're horrible for all of July & August.  My poor kids get eaten alive the minute they step out the door.  And they hate it when I have to spray them down with bug spray.  So you can only imagine my excitement when I found this stuff.  Not only does it smell good, it's sunscreen & bug repellent in one.  It's always handy when you have 4 kiddos if you can skip a step.  So to get sunscreen & bug repellent on in one shot is wonderful.  It's also waterproof.  I swoon, I'm in love.

You can grab a bottle of this stuff here wait patiently for a sale & you can get it for a steal.

Homemade Fun

During the Summer I'm always looking for fun & new projects for my kiddos.  Things that use creativity are often on the docket.  While in Target a few weeks ago I found these make at home bouncy balls.  And if there's one thing my monkeys love it's bouncy balls.
The kit was only $5 & requires very simple steps.  The only thing you need to provide is room temperature water & guidance 
This project was perfect for my three & six year olds because it had fairly quick results.  Only about 15 minutes from start to finish.  And afterwards they could play with what they made.  It's very hands on & is a good mixture of science & art.
Another bonus is that the balls really bounced & held up.  We made one big ball & two of the little astrix looking balls.  Plus we have enough left to make another big ball or two smaller balls.  Well worth your money & a fun project to do with you kids.  I may have even bounced the balls a few times myself.

Mac & Cheese: Kid Style

I love homemade mac & cheese.  My Grandma use to make it all the time for me & I would gobble it up!  Poor kids these days don't know that mac & cheese doesn't always come from a box, & they're really missing out.  Homemade mac & cheese is one of the all time comfort foods.  I have many variations of mac & cheese, but they generally appease to adults.  So I had to come up with a kid friendly version for my little ones.  I'll share the rich & flavorful adult mac & cheeses at a later date.  But for now here is one that little tummies will enjoy (& big tummies too)...
Ingredients
4 cups dry macaroni
1/4 cup butter
1/4 cup flour
2 cups whole milk
1/2 cup half & half or cream
1 cup American cheese (the real stuff, not the singles wrapped in plastic- that won't work)
3/4 cup cheddar
1/4 Parmesan
1 tsp salt (plus maybe some more to taste)
Directions
Preheat oven to 350 degrees.  Cook macaroni until al dente, about 5 minutes (until it's barely soft).  You want it to have some firmness because it will cook more in the oven.  Rinse throughly in cold water & set aside.
Warm up your milk & half & half in the microwave for about 1 1/2 minutes or until milk is luke warm.
In medium pot melt butter over medium-low heat.  Sprinkle in flour & whisk together constantly for 5 minutes.      This is your rue & the important thing about rue is to let it cook enough that the flour taste gets out, but not let it burn.  So keep your eye on it & stir.  The rue will get bubbly & frothy & turn brown- perfect.  Slowly pour in mild & whisk it together.  Whisk often until it becomes thick.
Reduce heat to low.  At a 1/2 cup at a time add in the cheeses.  Whisk until incorporated between each addition.  Add in the salt.  Now taste it, if it's a little blah add a pinch of salt & taste.  Keep doing this until it taste good & you want to drink up the cheese sauce.
Mix the macaroni & cheese sauce together until every noodle is coated.  Pour into a 9 x 13 pan or any other baking dish.  If desired sprinkle the top with a little bit of cheese.  Bake for 20 minutes, or until bubbly (but not too long, you don't want it to dry out).  Serve to little ones in big bowls.

*If you're in a hurry cook macaroni for the full time (about 8 minutes) until it is tender.  Mix the cheese sauce & macaroni together & serve immediately.

Growing Project

One activity I love doing with my kiddos is planting.  It's always fun for them to dig in the dirt & watch the miracle of growing seeds.  I love it because gardening is one of my favorite hobbies.  Since Spring has been slow coming here in the Rockies we decided to do an indoor planting project.  I bought a different kind of flower for each child & helped them individually plant their seeds.
We set the plants in a sunny window & use glasses or cut the tops off plastic bottles to create a green house effect.  The sprouts shoot up within a couple days (depending on germination time).  The kids get so excited when they see a little green popping up through the dirt.  It is their responsibility to gently water their seedlings each day & remove the cover for a few hours in the afternoon so mold doesn't begin growing.  This is a creative & fun way to instill responsibility into the little ones.  It also teaches them about plants & growing.  My kiddos love seeing how the different kinds of seeds grow & look.  When the weather gets warm enough we will transplant the flowers into the garden so they can watch them grow into full bloom.

Fun, simple, quick & educational.  I like that.

Preach it Sista

I read the Pioneer Woman's blog today and couldn't help but laugh.  Laugh because I can totally relate with her. First read her blog entry for today here.  Now continue reading...

Amen Sister!  There are gloves everywhere here as well.  I especially despise it when they find their hay laden, dirt covered selves on the kitchen counter.
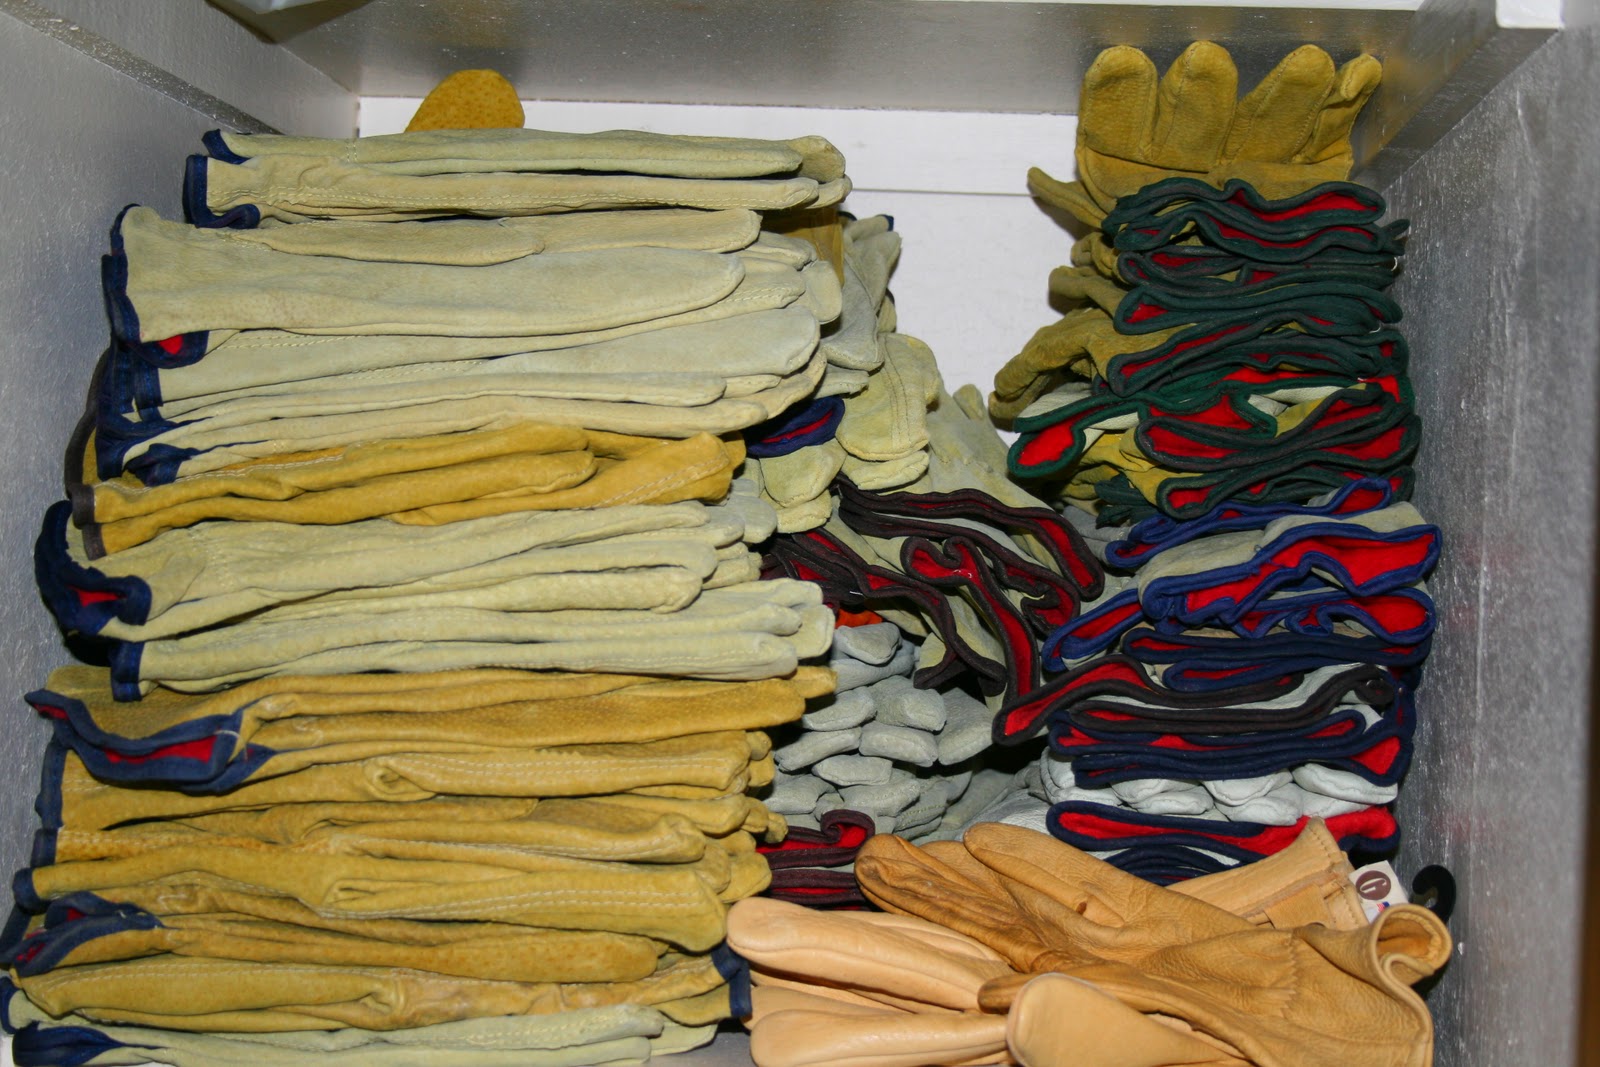
Part of my problem is my Dad's unsaitable desire & access to deer skinned gloves.  Do you think I need to call the "Hoarding: Buried Alive" folks?
Preach it!  The boots.  Oh, the boots.  How they consume every last inch of both entry ways of our house.  And in winter it all doubles with snow boots added on to the pile.   
I need to add one more thing.  Since we live in Montana.  Since it's been stinkin' cold this winter.  Since is never ending here (especially this year).  I need to add on the annoying amount of hats, scarves, & mittens that are trying to take over our abode.  This was my solution for my three oldest children, & even then the garments flood out of their bins.  Just another reason I can't wait for winter to end!


So whether you're on a cattle ranch down in Oklahoma with the Pioneer Woman, or on a horse ranch in the mountains of Montana the problems seem to be universal.  It's good to know one is not alone.


P.S. I will continue my wild adventures in the world of satellite television tomorrow.